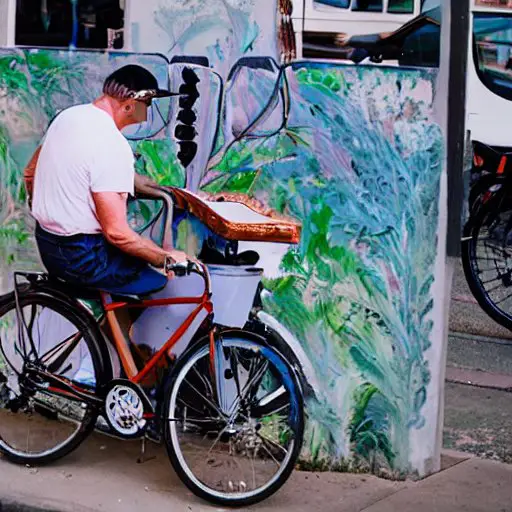
I remember when I first decided to paint my bike.
I was so excited to finally make it look like the dream machine I always knew it could be.
But, before I could even start painting, I had to sand it down to get rid of all the rough spots.
And let me tell you, I was not prepared for the amount of sanding that was about to happen.
I mean, I thought I was in good shape from all my daily cycling, but boy was I wrong.
My arms were killing me after just a few minutes of sanding.
But, as I soon found out, all that sanding was worth it in the end.
The smooth surface made it so much easier to apply the paint and get an even, professional-looking finish.
So, should you sand between coats of paint on your bicycle? Absolutely, yes.
Did you know that sanding between coats of paint is like tuning your bike before a long-distance ride?
It’s the unsung hero that ensures a smooth, polished finish that’s bound to catch eyes and turn heads as you cruise down the street.
To Sand or Not to Sand?
Yes, sanding between coats of paint on your bicycle is an absolute game-changer!
Think of it as laying a strong foundation for your masterpiece—a fresh coat bonds seamlessly with the previous one, creating a finish that’s as smooth as a freshly paved road.
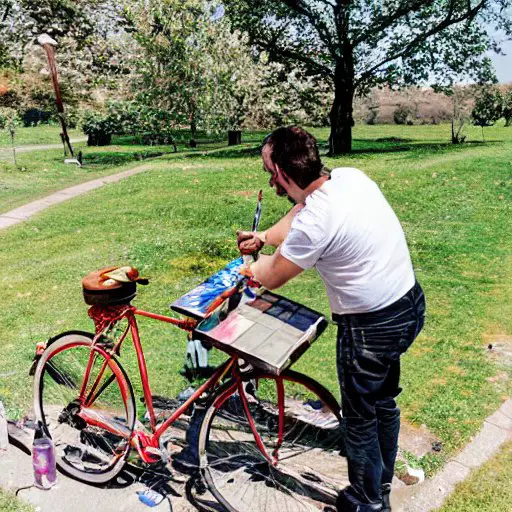
Picture this: you’re painting your bike a striking sunset orange, and by sanding between coats, you’re ensuring each layer blends harmoniously, resulting in a finish that’s nothing short of awe-inspiring.
Let me illustrate with an example.
When I decided to repaint my friend’s mountain bike and diligently sanded between coats, the end result was nothing short of spectacular.
The colors popped, and the finish was so smooth that it felt like a factory job.
Moreover, when I painted my vintage cruiser without sanding, the final product had visible imperfections and rough patches that were impossible to ignore.
The difference in finish quality was like night and day!
Remember, just as a well-maintained bike ensures a smooth ride, sanding guarantees an impeccable paint job that’s sure to make heads turn.
Painting With Sanding Vs Without: Your Bike Finish
| Painting Without Sanding | Painting with Sanding | |
|---|---|---|
| Finish Quality | Uneven surface, visible imperfections | Smooth, professional-grade finish |
| Adhesion | Paint may not adhere well, leading to peeling | Strong bond between coats for long-lasting finish |
| Effort | Less effort during painting, more touch-ups needed | More effort during sanding, less touch-ups needed |
| Time | May require additional coats and drying time | Sanding extends process, but fewer overall coats |
| Texture | Rough texture, visible brush strokes | Smooth texture, minimal brush strokes |
| Vintage Restoration | May not fully restore vintage bike’s original charm | Enhances vintage appeal with renewed finish |
| Creativity | Limited options for artistic expression | Opportunity for creative sanding patterns |
| Surface Preparation | Basic cleaning, potential for dust and debris | Clean, dust-free surface for optimal paint adhesion |
| Longevity | Paint job may not stand the test of time | Durable finish with improved resistance to wear |
| Distressed Look | May be challenging to achieve without sanding | Distressed look can still be achieved through technique |
| Materials | May require more paint for complete coverage | Less paint needed for even coverage |
| Attention to Detail | Details may be obscured by uneven finish | Details stand out with smooth finish |
| Time Investment | Quicker painting process | Longer process due to sanding, but higher quality |
| Color Vibrancy | Colors may appear dull and uneven | Vibrant, consistent color application |
| Restoration Potential | May not effectively revive vintage frames | Restores vintage frames to former glory |
| Surface Smoothness | Irregular texture, potential for drips | Smooth, flawless finish |
| Creative Freedom | Limited room for artistic expression | Opportunity to experiment with sanding patterns |
| Over-Sanding Risk | Less risk of over-sanding and compromising finish | Proper technique minimizes risk of over-sanding |
| Application Effort | Less effort during painting, more touch-ups needed | More effort during sanding, less touch-ups needed |
| Overall Result | May lack professional appearance and durability | Yields a polished, impressive final result |
The Right Tools for the Job
Before we dive into the nitty-gritty of sanding, let’s make sure you’ve got the right tools in your arsenal:
- Sandpaper (150-220 grit)
- Sanding block or sponge
- Tack cloth
These tools are to your paint job what a helmet is to your cycling adventure—essential for safety and success.

For instance, when I attempted sanding without a proper sanding block, I found it challenging to maintain consistent pressure and ended up with uneven sanding marks.
With the sanding block, the pressure distribution was even, resulting in a far smoother surface to work with.
Additionally, the tack cloth proved to be a true hero in wiping away dust and debris. Just like your bike’s regular maintenance keeps it performing at its best, a clean surface ensures a flawless paint finish.
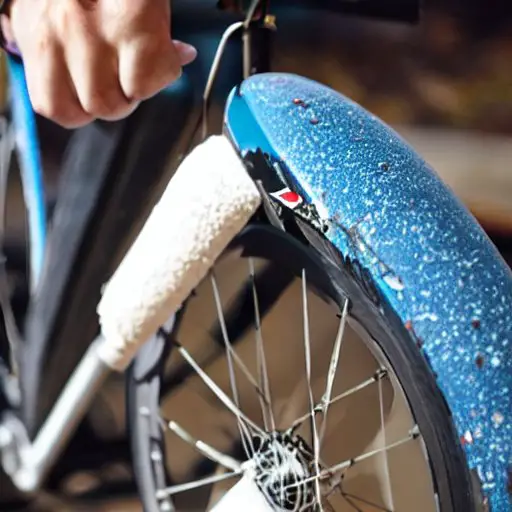
The Sanding Technique
Now that you’re equipped with the right tools, let’s delve into the art of sanding between coats:
- Begin by gently sanding the painted surface using light pressure and smooth, even strokes. Think of it as a gentle massage for your bike’s frame.
- After sanding, wipe off any residual dust using a tack cloth. This step is crucial—it’s like clearing the path ahead before a challenging bike trail.
- Step back and admire your smooth, prepped surface. It’s as satisfying as reaching the peak of a challenging hill and taking in the breathtaking view before the exhilarating descent.
For example, when I was working on my mountain bike, I noticed that a consistent back-and-forth motion during sanding yielded the best results.

It was like finding the perfect rhythm while cycling to maintain balance and control.
Remember, much like pacing yourself during a long ride, take your time with sanding to achieve a flawless, professional-grade finish.
Tips for a Flawless Finish
Ready to elevate your painting game even further? Here are some expert tips to keep in mind:
- Embrace the Gentle Approach: Just as you navigate tricky terrain with finesse, apply gentle pressure while sanding. Too much force can result in uneven surfaces that mar your final masterpiece.
- Cleanliness is Key: Wipe off dust, lint, and any debris between coats. It’s akin to maintaining your bike’s drivetrain for smooth, efficient pedaling.
- Quality Over Speed: Just as you take your time to enjoy a leisurely bike ride, don’t rush the sanding process. Patience pays off, and your bike’s finish will thank you for it.
For instance, during a recent bike painting project, I rushed through the sanding process, hoping to save time.
However, the end result was far from satisfactory—there were visible imperfections that were hard to ignore.
Lesson learned: rushing through sanding is akin to sprinting uphill—it’s exhausting and doesn’t yield the best results.
Common Concerns Addressed
Now, let’s tackle some of the burning questions you might have:
Is sanding necessary when using spray paint?
Absolutely! Even with spray paint, sanding between coats ensures an even finish that’s as smooth as a freshly paved bike path. Just as you fine-tune your bike’s gears, sanding fine-tunes your paint job.
How long should I wait before sanding between coats?
Patience is key here. Give each coat ample time to dry—around 24 hours is a good rule of thumb. It’s similar to letting your muscles recover after an intense bike ride.
Can I skip sanding if I’m using a primer?
While primer helps with adhesion, sanding between coats is still essential for achieving a top-notch finish. Think of primer as your bike’s foundation, and sanding as the finishing touch that makes it shine.
What if I’m aiming for a weathered, distressed look?
If you’re going for a vintage or distressed appearance, sanding between coats might not be necessary. Just as you embrace the character of an aged bike, imperfections in your finish can add unique charm.
Should I sand before applying the final clear coat?
Absolutely! Sanding before the final clear coat is like buffing your bike’s frame to a glossy shine. It creates a smooth surface that’s perfect for showcasing your paint job.
Choosing the Perfect Paint Color
Before we plunge into the world of sanding, let’s talk about a crucial starting point: choosing the right paint color.
Just as you select the perfect bike frame that suits your style, the paint color should reflect your personality and preferences.
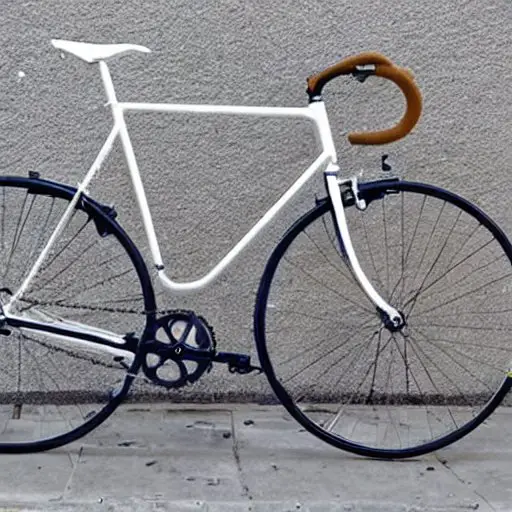
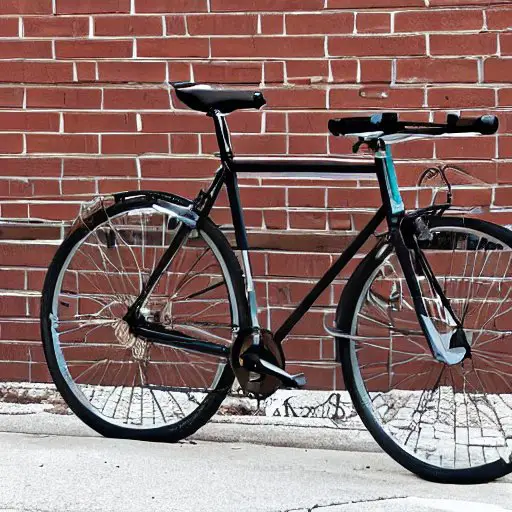
For example, if you’re all about vibrant energy, a bold red or electric blue might be your go-to choices. On the other hand, if you’re drawn to classic elegance, a deep black or sophisticated white could be the perfect fit.
I once opted for a radiant sunshine yellow for my cruiser bike, and let me tell you, it transformed the entire look and feel of the bike.
Every pedal stroke felt like a burst of sunshine!
So, much like customizing your bike with accessories that resonate with you, the paint color is your chance to express yourself and make your bike truly one-of-a-kind.
Sanding and Bike Frame Materials
Here’s a pro tip for all you bike aficionados: different frame materials demand different sanding approaches.
Just as you adapt your cycling technique to different terrains, you’ll want to adjust your sanding technique based on your frame’s material.
For instance, aluminum frames may require a slightly different sanding touch compared to steel frames. Sanding an aluminum frame demands a lighter touch, similar to how you adjust your braking intensity on slick roads to avoid skidding.
On the other hand, carbon fiber frames are lightweight and require even more caution. Just as you handle your bike with care on challenging trails, use a delicate touch while sanding a carbon fiber frame to ensure you don’t compromise its integrity.
When I was working on a titanium frame, I found that the sanding process was smoother and required less effort compared to a steel frame.
It’s akin to how effortlessly titanium frames glide over rough terrain.
So, much like tailoring your cycling gear to match different weather conditions, tailor your sanding technique to your frame’s material for optimal results.
Getting Creative with Sanding Patterns
Sanding isn’t just about functionality—it’s also a chance to get creative and add a personal touch to your paint job.
Think of it as adding custom decals and accessories to your bike to make it uniquely yours.
Instead of sticking to conventional sanding techniques, consider experimenting with different sanding patterns.
Sanding in swirling motions can create an artistic, mesmerizing effect that’s reminiscent of a bike ride through a scenic route.
For a more contemporary touch, sanding diagonally can add dynamic energy to your finish, just like the rush of adrenaline you feel while navigating twists and turns on a winding road.
I once tried sanding in a crosshatch pattern on my cruiser bike, and the result was an eye-catching finish that drew attention from every angle.
It’s like leaving your mark on the cycling world with a paint job that’s truly one-of-a-kind.
Overcoming Sanding Challenges
Just as you encounter unexpected obstacles on the trails, sanding can present its own set of challenges. One common issue is the risk of over-sanding, which can lead to an uneven and unappealing finish.
To overcome this challenge, I suggest using a sanding block that provides consistent pressure. It’s similar to finding your bike’s balance point—you need stability and control to navigate tricky terrain successfully.
Additionally, keep an eye out for paint buildup in crevices or tight corners. Similar to cleaning your bike’s chain and drivetrain, removing excess paint ensures a smooth and even finish.
You can use a fine-grit sandpaper or even a toothpick to gently remove excess paint from tricky areas.
By addressing these challenges head-on, you’ll master the art of sanding and achieve a professional-grade finish that’s worthy of display.
Reviving Vintage Bikes with Sanding Magic
If you have a penchant for vintage bikes, sanding is your ticket to restoring these time-tested treasures to their former glory.
Just as you give new life to an old bike by replacing worn-out components, sanding brings vintage frames back to life.
Imagine stumbling upon a neglected gem at a flea market—a vintage road bike with decades of stories to tell. With the magic of sanding, you can strip away years of wear and tear, revealing the bike’s original beauty.
I once had the pleasure of restoring a 1970s steel-frame cruiser. After a thorough sanding and a fresh coat of paint, the bike looked as if it had just rolled off the showroom floor. It was like taking a trip back in time, pedaling through history with a bike that had a story to tell.
So, just as you appreciate the history and character of vintage bikes, embrace the transformative power of sanding to breathe new life into these two-wheeled relics.
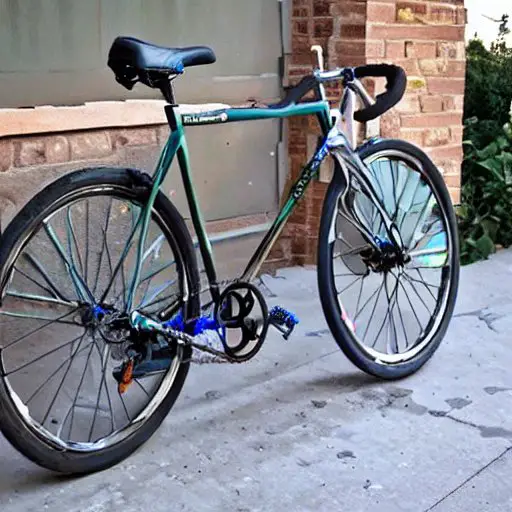
A Smooth Ride Awaits!
And there you have it, fellow cycling enthusiasts! Sanding between coats of paint on your bicycle is like fine-tuning your bike before a thrilling ride—it’s the secret to unlocking a finish that’s as smooth as a freshly paved bike path.
So, whether you’re cruising on a sleek road bike or tackling rugged trails on a mountain bike, remember to sand, wipe, and paint your way to a finish that’s sure to draw admiration and applause from fellow cyclists.
It’s time to channel your inner artist and create a masterpiece that’ll turn heads and spark conversations wherever your wheels take you.
Happy painting, and may your rides be filled with joy, adventure, and endless two-wheeled inspiration!