
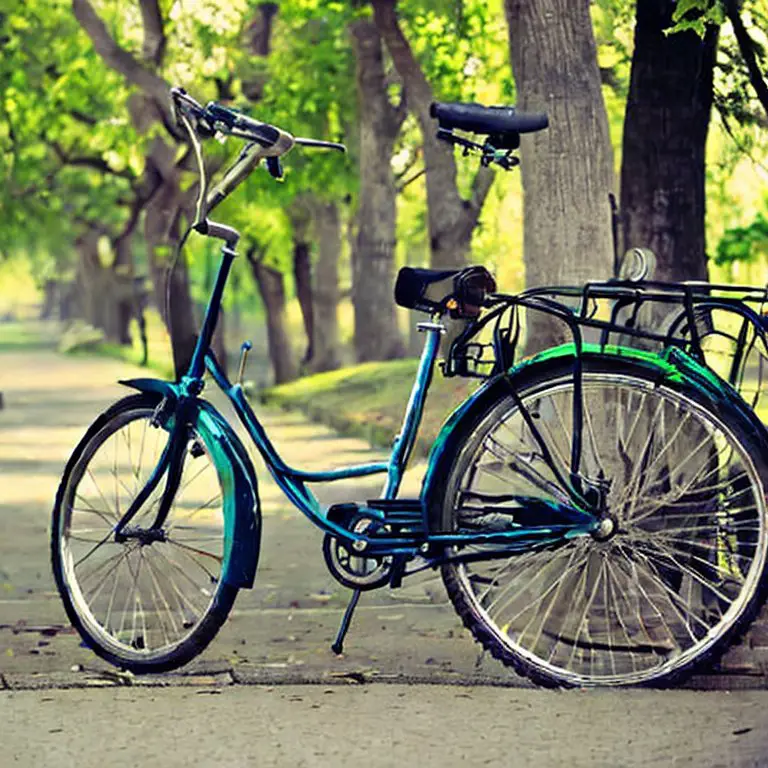
Let me tell you a little story. One sunny day, I was cruising down the street on my trusty bike, enjoying the fresh air and the wind blowing through my hair. Life was good.
But then, out of nowhere, my bike chain decided to play a little game of hide and seek. It slipped off the gears and got tangled up in itself, leaving me stranded and frustrated.
That’s when I realized just how many bike chain problems there are out there. So, I did some research and came up with this handy guide to help you avoid the same fate.
Why does my bike chain keep slipping off? It could be due to a loose chain, worn out gears, or improper tension.
1. Chain skipping
Do you hear that clunking noise coming from your bike when you’re trying to enjoy a nice ride? It’s probably your chain skipping or jumping when you pedal. Don’t worry, you don’t have to ride your bike like a kangaroo all day!
The reason for this annoying problem might be because your gears are worn out or dirty. Think of it like trying to climb a slippery hill with your old, worn out sneakers. No grip, no success. Same goes for your bike gears.
So, what can you do about it? Firstly, you can try cleaning your gears with a degreaser. Think of it like giving them a nice bubble bath. Scrub away all that grime and grease to give your gears some love.
If that doesn’t work, it might be time to replace them altogether. Don’t worry, it’s not as daunting as it sounds. You can either take your bike to a professional or, if you’re feeling brave, replace them yourself. Just make sure to get the right gears for your bike.
With your gears in tip-top shape, you’ll be back to enjoying a smooth ride in no time. Say goodbye to those kangaroo hops and hello to a happier, more efficient biking experience!
2. Chain noise
Have you ever been cruising down the road and all you can hear is a loud, annoying noise coming from your bike chain? It’s like a constant “clang-clang-clang” in your ear, and it’s enough to drive you crazy!
Well, fear not, because there are a few things you can do to fix this pesky problem. First off, you’ll want to check the tension of your chain.
If it’s too loose, it can make a lot of noise as it moves around. But if it’s too tight, it can put unnecessary strain on your gears and cause even bigger problems. So, what’s the sweet spot? Well, you should be able to push down on the chain with your finger and see it move about half an inch.
If your chain tension is spot-on, but you’re still hearing that awful noise, it could be due to a dirty or dry chain. Think of it like a musical instrument; if it’s not properly oiled and lubricated, it won’t sound great. So, grab some chain lube and give your chain a good coat.
You’ll want to make sure you’re using a lube that’s appropriate for your chain and the weather conditions you’re riding in.
But, if your chain is still making noise after some lube, it could be a sign that your cassette is worn out. Your cassette is the collection of gears on the rear wheel that your chain wraps around.
Over time, the teeth on the cassette can become worn down, making it harder for the chain to grip onto them. If this is the case, you’ll need to replace the cassette.
In summary, if you’re tired of the annoying “clang-clang-clang” coming from your bike chain, make sure to check the tension, lubricate, and replace the cassette if necessary. And remember, a quiet chain is a happy chain!
3. Chain stretch
Well, well, well. Looks like you’re dealing with the classic case of chain stretch. Don’t worry, it’s not some weird yoga pose – it just means that over time, your chain has stretched out and become too loose, causing it to slip off the gears or make some funky noises.
How does this happen, you ask? Well, every time you ride your bike, the chain experiences some serious tension and stress. And just like your favorite pair of leggings after a spin class, it can start to lose its shape and fit.
But fear not, my two-wheeled friend! You can easily fix this issue by replacing the stretched out chain with a new one.
Trust me, you don’t want to ignore this problem because a loose chain can lead to some serious damage to your gears and make your ride feel like you’re pedaling through mud.
Pro tip: to avoid chain stretch in the future, try to shift gears smoothly and avoid putting too much pressure on the pedals when starting from a stop.
And of course, regular chain maintenance like cleaning and lubrication can help prolong its life. Keep that chain in check and you’ll be cruising like a pro in no time!
4. Chain wear
Ah, chain wear. It’s the inevitable consequence of all those miles you’ve been putting on your trusty two-wheeler. You know what they say – nothing lasts forever, not even bike chains. But fear not, my cycling friend, because there are ways to spot and fix this pesky problem.
So, how do you know if your chain is suffering from wear and tear? Well, one telltale sign is the appearance of rust, which can make your chain look like it’s been sitting at the bottom of the ocean for a year. Another clue is a loss of tension, which means your chain is starting to stretch out and become loose.
But why is chain wear such a big deal? Well, for starters, it can lead to poor shifting and decreased performance, which is a fancy way of saying your bike won’t go as fast as it used to. It can also cause damage to your chainrings and cassette, which are expensive components to replace.
So, what can you do about it? The best way to prevent chain wear is to keep your chain clean and lubricated, which will reduce the friction that causes wear in the first place.
You should also replace your chain regularly – every 2,000 to 3,000 miles or every six to 12 months – to ensure that it doesn’t become too worn out.
Now, I know what you’re thinking. “But Jerry, I don’t have the time or the money to replace my chain that often!” Well, my friend, consider this: replacing your chain is much cheaper than replacing your chainrings and cassette.
Plus, a well-maintained chain will improve your bike’s overall performance and make your ride more enjoyable.
So, don’t let chain wear bring you down. Stay on top of your maintenance game, and your bike (and wallet) will thank you.
5. Chain tension
Alright, you’ve got a loose chain that’s bouncing around like a crazed pogo stick, or a tight chain that’s so taut it feels like you’re pedaling through molasses. Either way, it’s time to check that chain tension.
First off, loosen that rear wheel axle nut just a bit. Then, adjust the derailleur to set the chain tension to your bike manufacturer’s recommended specs. Not sure what that is? Consult your bike manual or your friendly neighborhood bike mechanic.
Remember, too much tension can cause your chain to wear out faster and put unnecessary strain on your gears. And too little tension means your chain will flop around like a limp noodle, which could lead to chain skipping or even derailment. Nobody wants that!
So, go ahead and give that chain some love. Get it tensioned just right, and you’ll be pedaling like a pro in no time.
6. Bent chain
Oh no, you’ve got a bent chain! Looks like you got into some trouble with your bike, huh? Don’t worry, it happens to the best of us.
Maybe you hit a bump in the road, or perhaps you tried to show off your sweet tricks and failed miserably. Whatever the cause, a bent chain can really put a damper on your ride.
When your chain is bent, it won’t work properly, and your gears may slip or skip. It’s important to fix it as soon as possible, or you’ll risk further damage to your bike. Unfortunately, there’s no easy fix for a bent chain. You’ll have to replace it entirely.
Replacing a chain can be a bit tricky, but with the right tools and some patience, you’ll have it back in tip-top shape in no time.
Make sure to choose the right replacement chain for your bike, as there are different sizes and types available.
To prevent a bent chain from happening again, be sure to watch out for obstacles in your path and avoid putting too much strain on your bike during those intense tricks. And remember, it’s all part of the adventure of biking!
7. Chain breakage
Oh boy, nothing screams “bike ride ruined” like a chain breakage. You’re cruising down the street, enjoying the wind in your hair, when suddenly…snap!
Your chain breaks and leaves you stranded on the side of the road. What do you do now?
Well, first of all, let’s talk prevention. A broken bike chain can be caused by a variety of factors, such as wear and tear, old age, or damage.
To avoid chain breakage, make sure to replace your chain regularly, especially if you ride frequently or in harsh conditions. It’s also important to avoid putting too much pressure on your chain, so be mindful of your gear shifting and pedaling.
But what if the worst has already happened? Fear not, my friend. If you’re handy with tools, you may be able to fix the chain yourself by removing the broken link and replacing it with a quick link or a chain pin.
However, this is not always a permanent solution, and it’s always better to replace the chain entirely if possible.
If you’re not comfortable with DIY bike repairs, don’t worry. Take your bike to a local bike shop or mechanic and let them work their magic. They’ll have the expertise and tools to get you back on the road in no time.
In summary, a broken bike chain is a major bummer, but it doesn’t have to ruin your day (or your bike). With some preventative measures and a little know-how, you can keep your chain in tip-top shape and avoid those dreaded roadside repairs.
8. Chain rust
Now, listen up, buttercup, because we’re going to talk about one of the worst enemies of your bike chain – rust.
Picture this: you wake up on a beautiful Saturday morning, ready to hit the road on your trusty steed. But wait, what’s that crusty brown gunk all over your chain? Yep, you guessed it – rust has taken hold.
Rust is a pesky little devil that can wreak havoc on your bike chain. It can cause your chain to seize up, leaving you stranded and frustrated. But fear not, my two-wheeled friend, there are ways to fight back against the rust monster.
First things first, keep your chain clean and dry. Give it a good scrub down after every ride, especially if you’ve been riding in wet conditions. Use a bike-specific degreaser and a stiff-bristled brush to remove any dirt and grime. Then, dry the chain thoroughly with a clean rag or towel.
Next, keep your chain lubricated. A good bike chain lubricant can help prevent rust and keep your chain running smoothly. Apply a few drops to each link, and use a rag to wipe off any excess.
If you do find rust on your chain, don’t panic. You can use a rust remover to get rid of it. Just be sure to follow the instructions carefully and use a product that is safe for your bike chain.
Remember, rust doesn’t have to be the end of the road for your bike chain. With a little TLC and some elbow grease, you can keep your chain rust-free and ready for whatever adventures lie ahead. So, get out there and show that rust who’s boss!
9. Chain length
Now, let’s talk about chain length! The length of your bike chain is crucial to your bike’s performance, and getting it just right can make all the difference.
Here’s the deal: if your chain is too short, it can cause your bike to shift poorly and even damage the derailleur. On the other hand, if your chain is too long, it can cause your bike to bounce around and make a rattling noise.
So, how do you know if your chain is the right length? Well, it’s all about counting the links. You want to make sure your chain has the right number of links for your bike’s specific setup.
But wait, there’s more! Once you’ve got the right number of links, you need to make sure your chain is properly tensioned. Too loose and it can slip off the gears, too tight and it can put unnecessary stress on your bike.
Don’t worry, though, adjusting your chain tension is easy peasy lemon squeezy. Just use your derailleur to fine-tune the tension until it’s just right.
And if all this talk of links and tension has got you feeling overwhelmed, just remember: you can always take your bike to a professional to have them check it out for you. They’ve got the tools and the know-how to make sure your chain is in tip-top shape.
So, get counting, get tensioning, and get riding! A well-maintained chain is the key to a smooth and enjoyable bike ride. Plus, you’ll look pretty darn cool doing it.
Now, I know what you’re thinking. “Jerry, this is all great information, but what about your personal experience?” Well, let me tell you.
One time, I was riding my bike in the pouring rain (I know, not the smartest move), and my chain got so rusty that it practically fell apart.
I had to push my bike all the way home in the rain, and let me tell you, it was not a fun experience.
Keep Your Bike Chain Running Smoothly Chart
| Bike Chain Problem | Description | Solution | How to Avoid |
|---|---|---|---|
| Chain skipping | Chain skips or jumps when you pedal | Clean or replace worn-out or dirty gears | Keep your bike chain clean and lubricated regularly |
| Chain noise | Chain makes a lot of noise when you ride | Lubricate the chain or replace the cassette if worn out | Keep your bike chain clean and lubricated regularly |
| Chain stretch | Chain becomes loose and stretched out over time | Replace the chain | Replace your bike chain regularly and keep it properly lubricated |
| Chain wear | Chain becomes rusty or corroded from regular use | Replace the chain | Keep your bike chain clean and lubricated regularly |
| Chain tension | Chain is too tight or too loose | Adjust the derailleur to properly tension the chain | Regularly check the tension of your bike chain |
| Bent chain | Chain becomes bent or twisted | Replace the chain | Avoid crashes and getting your chain caught on obstacles |
| Chain breakage | Chain breaks and leaves you stranded | Replace the chain regularly and avoid putting too much pressure on it | Replace your bike chain regularly and avoid putting too much pressure on it |
| Chain rust | Chain becomes rusty and seizes up | Keep your chain clean and dry, and lubricate it regularly | Keep your bike chain clean and lubricated regularly |
| Chain length | Chain is too short or too long | Adjust the chain length by counting the number of links | Make sure your bike chain is the right length from the start and regularly check the length |
FAQs
How often should I replace my bike chain?
It depends on how often you ride and how well you take care of your chain.
Generally, you should replace your bike chain every 2,000 to 3,000 miles or every six to 12 months.
However, if you ride in harsh conditions such as rain, mud, or sand, you may need to replace it more frequently.
Can I repair a broken bike chain?
It is possible to repair a broken bike chain, but it is usually better to replace it. If you have the tools and the expertise, you can remove the broken link and replace it with a quick link or a chain pin.
However, this is not always a permanent solution, and the chain may break again in the future.
Can I reuse an old bike chain?
It is not recommended to reuse an old bike chain, especially if it is worn out or damaged. Reusing a chain can lead to poor performance and even safety hazards.
It is always better to replace the chain with a new one.
Do I need special tools to replace a bike chain?
Yes, you will need a chain tool to remove the old chain and shorten the new one to the correct length.
You may also need a cassette removal tool or a chain whip to remove the cassette or freewheel. It is best to have a bike mechanic or experienced cyclist assist you with the replacement process.
My conclusion: Taking care of your bike chain is essential to maintaining a smooth and safe ride. Regular maintenance, such as cleaning, lubrication, and tension adjustment, can help prevent chain problems.
If you do experience a chain issue, identifying the cause and taking prompt action can save you from a frustrating and possibly dangerous situation.